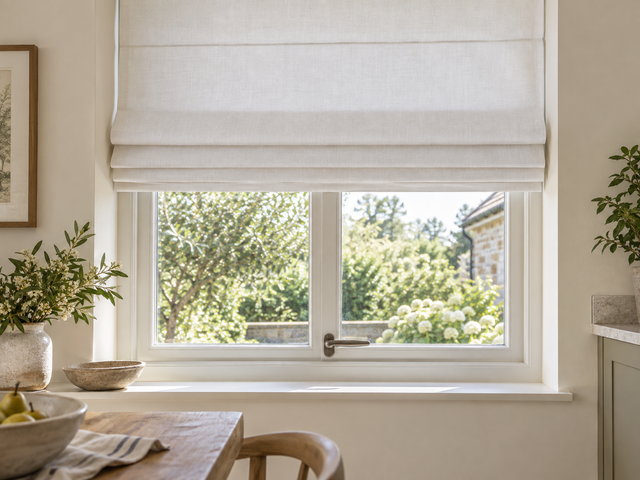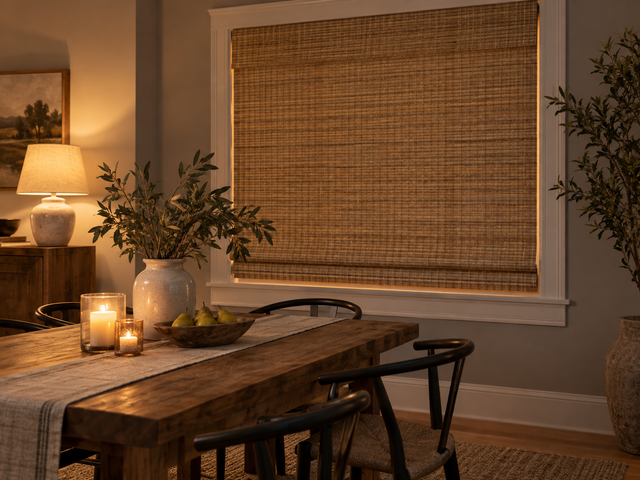

Measure custom curtains from the planned rod or track, not from the glass alone. Decide the hardware position and curtain length first, then record finished width, finished length, overlap, floor clearance, trim, baseboards, vents, and furniture in inches. Fredesigner's drapery guide provides the method for the header and installation you plan to order.
Plan the hardware before taking final measurements
Curtain dimensions depend on where the treatment begins and ends. If the rod or track is already installed, measure from that hardware and note its usable span. If hardware is not installed, sketch the planned position relative to the window trim, ceiling, nearby walls, and floor.
Make sure a rod can extend as planned on both sides. Check corner walls, built-ins, switches, vents, doors, and furniture. Open the window fully and check that handles or cranks will clear the fabric and hardware.
Record the window and the finished curtain area
Use a metal tape measure, pencil, and a separate sketch for each opening. Label every dimension in inches and identify the room and window. Measure more than once before transferring any number to a custom order form.
| Record | What it describes | Why it matters |
|---|---|---|
| Opening width and height | The window and trim | Provides a reference for the installation |
| Hardware position | Rod or track location | Establishes where the curtain hangs |
| Finished width | Total area the curtain should cover | Affects coverage, overlap, and stacking |
| Finished length | Top reference to chosen endpoint | Determines floor, sill, or other clearance |
| Side conditions | Walls, trim, furniture, switches | May limit extension or stacking space |
| Floor conditions | Baseboards, vents, uneven floor | Can change the useful endpoint |
These records give you a complete picture of the room before you apply the product-specific instructions.
Choose the length before entering a number
Decide how the curtain should meet the room: above the floor, at the floor, or with intentional extra fabric. The practical choice depends on cleaning, pets, doors, vents, uneven flooring, and how often the panels will move. Take measurements at more than one point when the floor or ceiling may not be level.
Write the chosen endpoint on the sketch. A number without an endpoint description is easy to misread later, especially when several windows are being ordered at once.
Match the header to the hardware
Different headers connect to rods or tracks in different ways. The visible top line, hook position, ring, or pocket can change where finished length begins. Select the intended header before finalizing the measurement and follow the allowances for that setup.
Fredesigner's drapery measuring guide covers finished width, finished length, fullness, overlap, and floor-clearance planning. Use the method for the selected header instead of a deduction or addition from a Roman shade, another header, or an old worksheet.
Check the center and side coverage
For paired panels, plan how the fabric meets in the center and where it finishes at each side. Consider the view when the curtains are closed and the stacking space when they are open. If the wall is narrow, the same area may need to serve both coverage and stack-back.
For a wide opening or multiple windows, draw the full elevation instead of treating each pane separately. Mark any mullions, doors, radiators, or furniture that affect panel movement.
Review the order as a set of decisions
Before checkout, compare the completed sketch with the selected product and its options. Open the curtains and drapery collection for product discovery, then check that the chosen listing offers the intended material, header, lining, color, and size.
Custom items are made from the submitted measurements and choices. Read Fredesigner's Refund Policy before checkout to understand how measurement errors, option choices, and changes of mind are handled. Resolve uncertainties before placing the order.
Final measurement check
- Label the window and room.
- Note whether hardware is installed or planned.
- Record the opening, finished width, and finished length in inches.
- Mark the header, overlap, floor endpoint, and stacking space.
- Note trim, handles, vents, furniture, and uneven surfaces.
- Repeat each measurement and compare the results.
- Apply the instructions for the chosen product and header.
- Recheck every custom field before payment.
Keep the dated sketch with the order receipt. It creates a clear record of what was measured, how the treatment was planned, and which figures were submitted. If you are still deciding between curtains and shades, compare the two workflows in Curtains vs. Roman Shades: Two Different Measuring Plans.